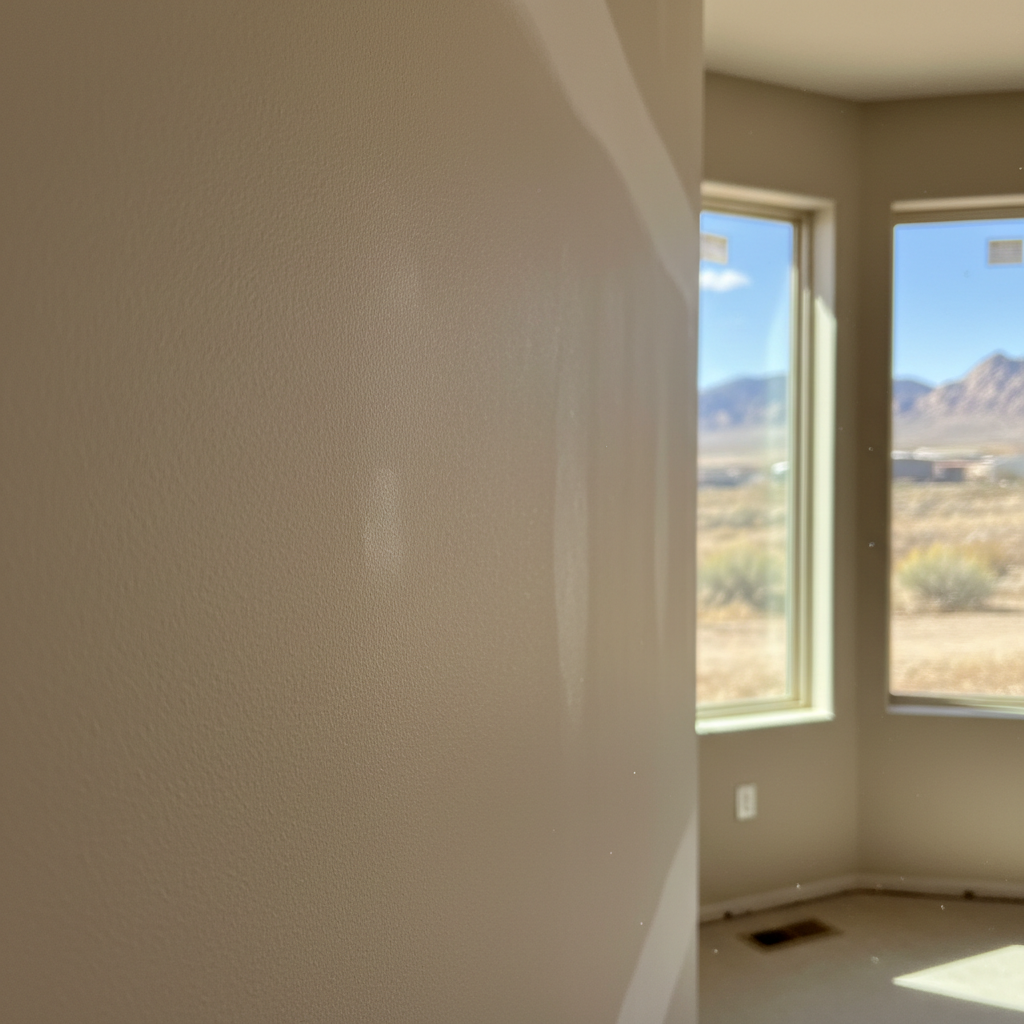
So, you've just put up new drywall, or maybe you've patched a hole, and now you're staring at those seams, screws, and patches. What's next? Finishing. And let me tell you, this is where things either get magical or turn into a real headache. A lot of Orem homeowners ask me if they can finish their own drywall. My honest answer? It really depends on your patience, how picky you are, and frankly, how much you enjoy your weekends.
Before You Even Think About Mudding
First off, let's get real about what you're expecting. Drywall finishing isn't just about slapping mud on a wall. It’s an art, truly. The goal is to create a perfectly smooth, seamless surface that paint will absolutely love. If you're aiming for a flawless, level 4 or 5 finish—the kind where light just glides across the wall without showing a single bump or dip—you'll probably need a pro. But if you're tackling a garage, a basement utility room, or just patching a small area, you might be able to pull it off yourself.
Here’s what you’ll need to get started:
- Joint Compound (Mud): You’ll find different types out there. Setting-type, sometimes called "hot mud," works great for quick fills and repairs. Ready-mix is better for general finishing. For DIY projects, an all-purpose ready-mix is usually your best bet.
- Taping Knife & Mud Pan: Invest in a good set. Grab a 6-inch knife for taping, a 10-inch for embedding, and a 12-inch for those final coats.
- Drywall Tape: Paper tape is for seams; mesh tape is better for repairs.
- Sanding Tools: You’ll want a sanding pole with fine-grit sandpaper, or maybe a hand sander. Oh, and dust is a real pain, so definitely get a good mask!
- Corner Tools: Got inside or outside corners? Specialized corner tools make a huge difference, trust me.
- Good Lighting: This is absolutely critical. Use a bright work light, angled across the wall, to show up any imperfections. You’ll thank me later for this tip.
One thing I’ve noticed in older Orem homes, especially those built in the 70s and 80s down near State Street, is that the original framing can be a bit crooked. This means your drywall sheets might not sit perfectly flush, which makes finishing even tougher. A pro knows how to "float" these areas out, making them look straight as an arrow.
During the Finishing Process: The Nitty-Gritty
Okay, you've got your tools ready. So, what's next? The process usually involves three coats of mud, sometimes more, with sanding happening in between each one.
- Taping Coat: This is where you put your paper tape over seams and fill screw holes. Apply a thin, even layer of mud, press the tape into it, then put another thin layer right over the tape. Make sure to feather the edges out.
- Second Coat (Fill Coat): Once that first coat is totally dry (give it about 24 hours), apply a wider, slightly thicker coat over the taped seams and screw holes. You're basically building up the surface here and starting to smooth things out. Don't forget to feather those edges!
- Third Coat (Finish Coat): This will be your widest and thinnest coat. Use your 12-inch knife to feather the mud out as far as you can, making the transition from the mudded area to the untouched drywall practically invisible. This is often where most DIYers hit a snag.
Sanding plays a huge part in all this. You’re not trying to sand off all the mud; you're just smoothing out ridges and any high spots. Sand too much, and you might expose the tape or create little divots, which means you’ll have to mud again. It's a delicate balance, wouldn't you say?
For small patches, like a nail pop or a little hole, you can definitely do it yourself. A couple of thin coats, a quick, light sand, and you're all set. But for entire rooms, especially if you want a smooth wall texture, it's a massive undertaking.
After the Mud Dries: Inspection and Painting Prep
Once you think you're done, grab that bright work light and shine it across every wall from different angles. You'll be surprised what pops out at you. Little ridges, tiny pinholes, areas that aren't quite flat. Don't get discouraged! Just mark them, apply a little more mud, sand, and then check it again.
Before painting, you absolutely, positively need to prime your finished drywall. Primer seals the mud, helps the paint stick, and makes sure you get a uniform finish. Skipping primer is a rookie mistake that will make all your hard work look blotchy.
When to Call All Things Drywall Company
Look, I'm all for homeowners learning new skills. But there's a reason professional drywall finishers exist. We do this day in and day out. We've got the specialized tools, the experience, and that keen eye for detail that only comes from years of practice. If you're doing a whole house, an addition, or even just a large room where you want a truly professional, paint-ready finish, save yourself the headache and give us a call. We can get that level 4 or 5 finish done quickly and efficiently, meaning you won't be spending weeks in a cloud of drywall dust, only to be disappointed with the final result. Your time is valuable, and sometimes, paying a pro is the smartest investment you can make for a beautiful home.